> ## Documentation Index
> Fetch the complete documentation index at: https://docs.omi.me/llms.txt
> Use this file to discover all available pages before exploring further.
# Integrate 3P Wearables
> A guide to integrating any wearable device, like Plaud, Limitless, or your own custom hardware, with the Omi open-source ecosystem.
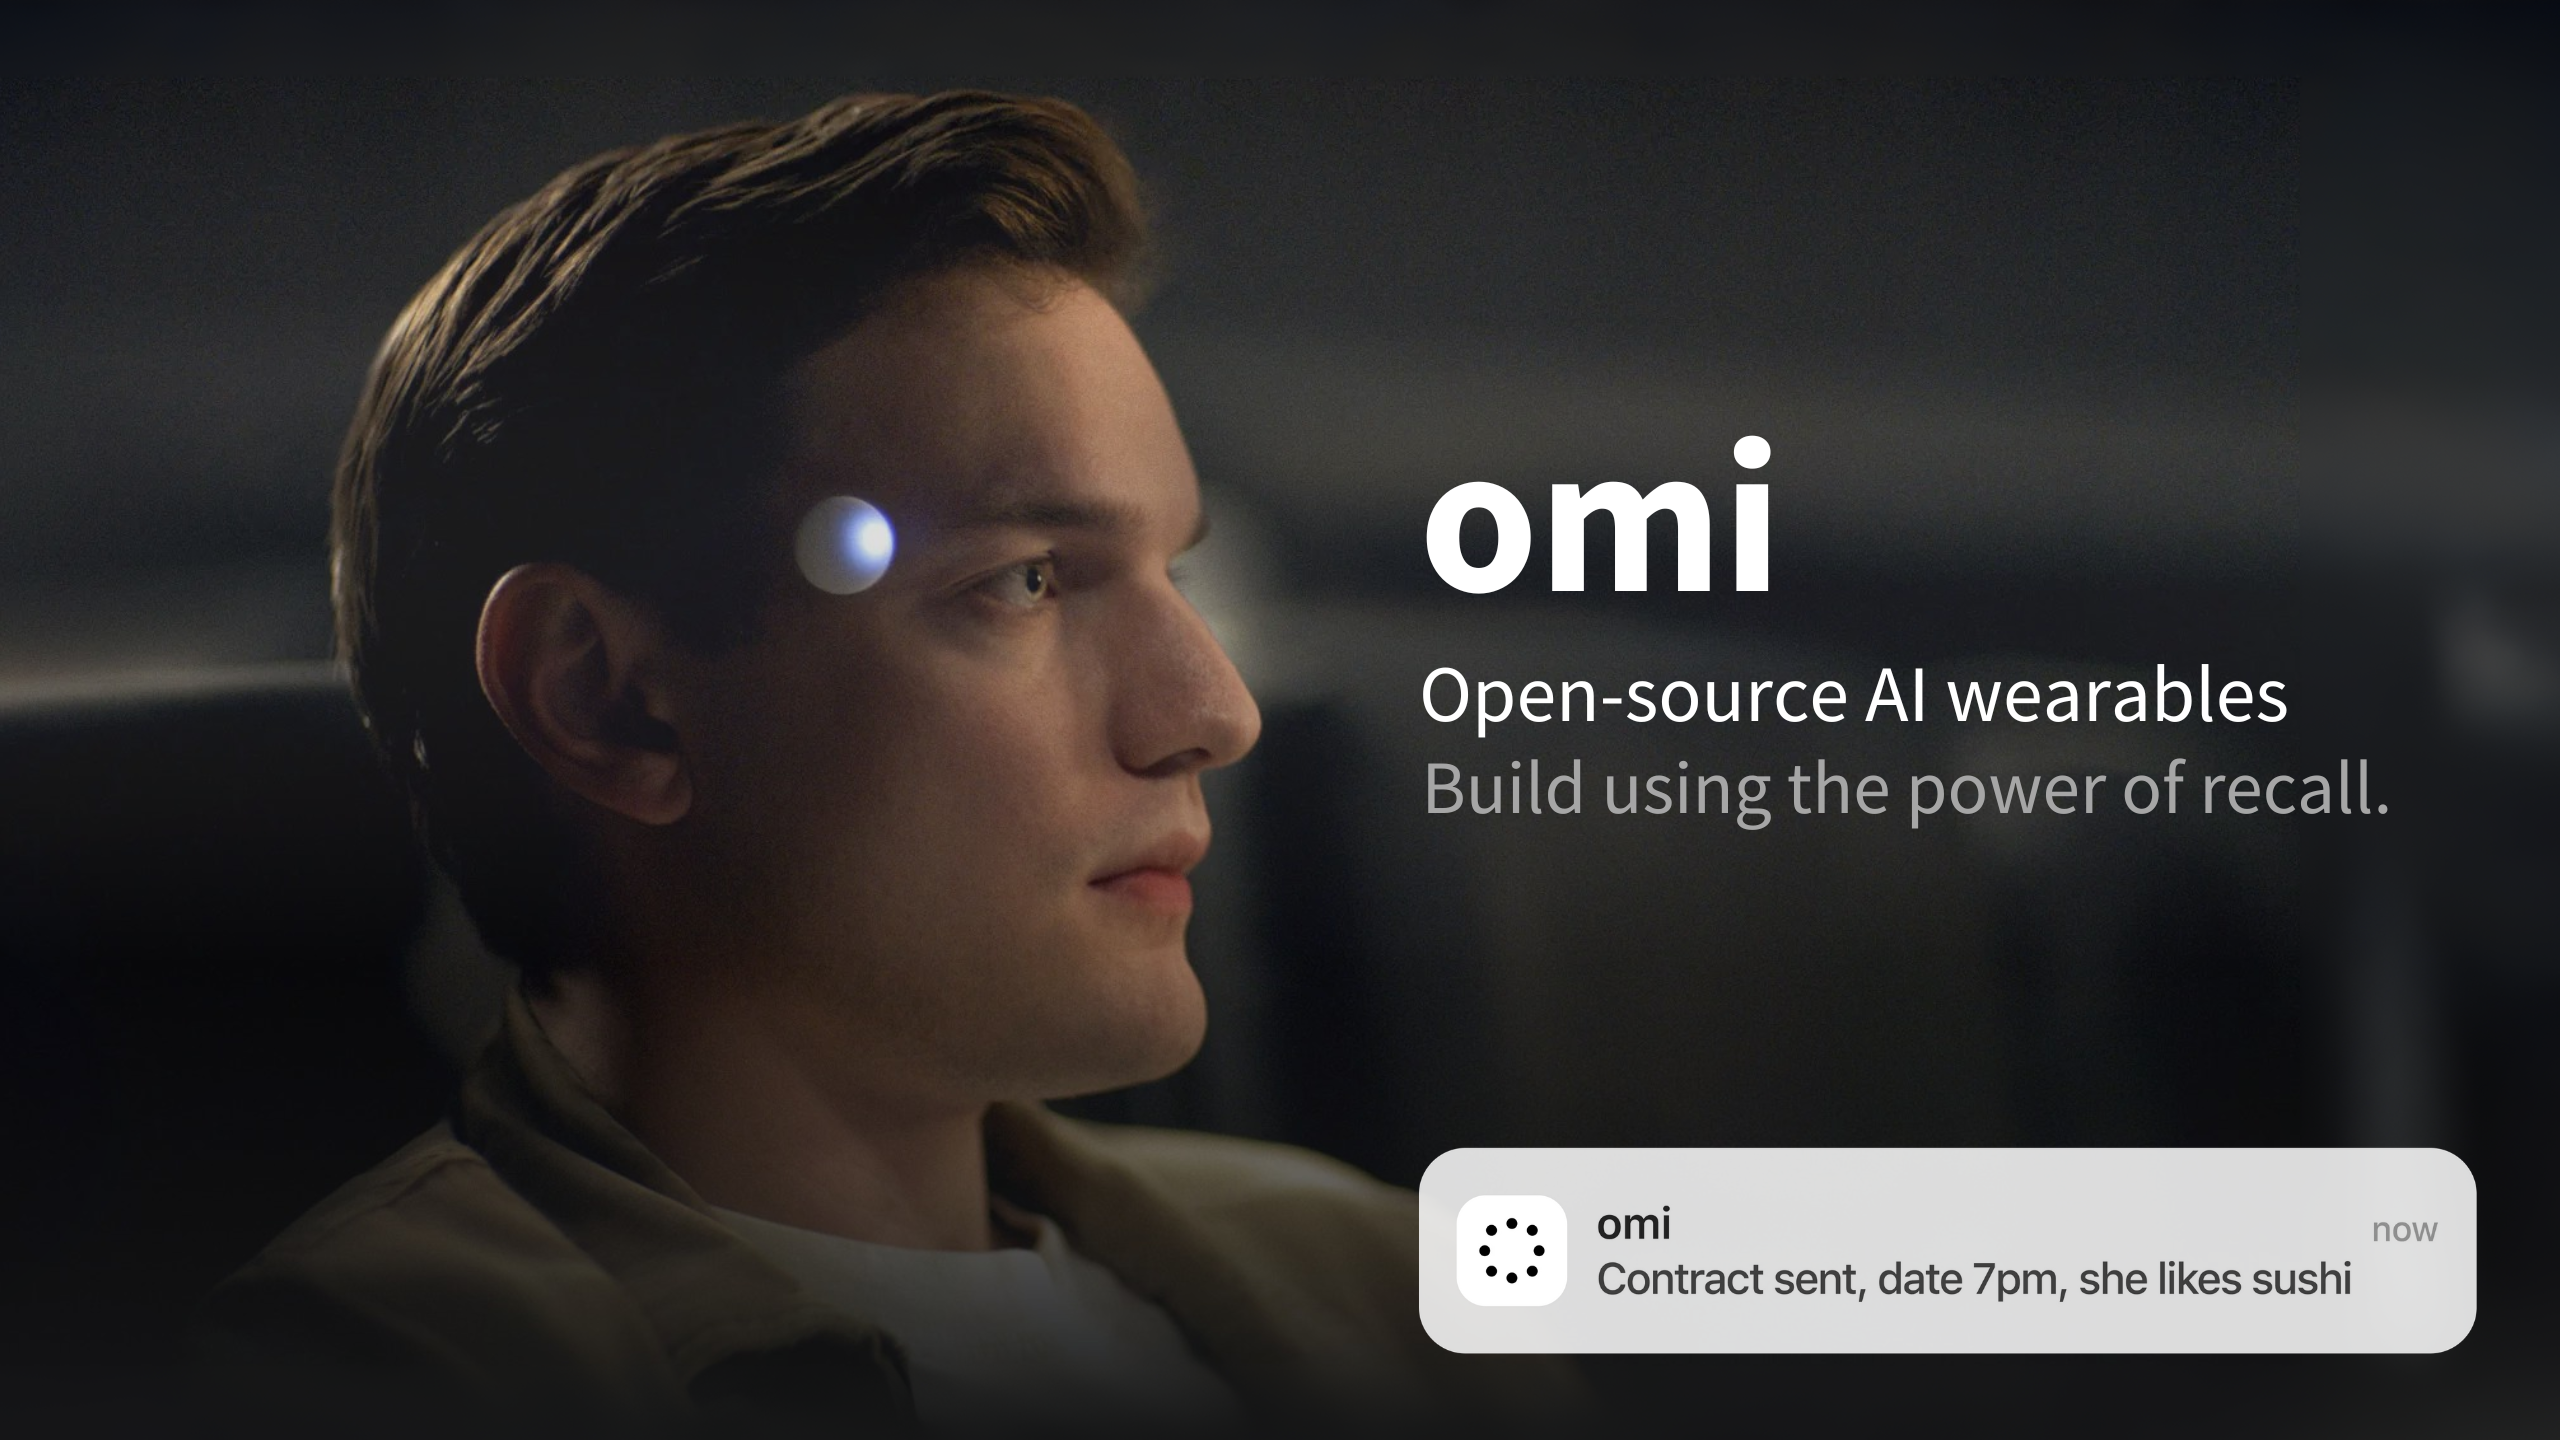 Omi is the world's most advanced open-source AI wearable platform. Our mission is to build an open ecosystem for seamless communication, and that includes enabling a wide range of hardware.
This guide will walk you through integrating third-party wearable devices—like Plaud AI, Limitless, or your own custom hardware—into the Omi app. By doing so, you can leverage Omi's powerful features, including high-quality transcription, conversation memory, and a growing app marketplace, for any device.
***
## The Integration Workflow
Integrating a new device involves two main phases:
Understanding how the device communicates. This typically means capturing and analyzing its Bluetooth Low Energy (BLE) traffic to decode its protocol for commands and data streaming.
Writing code within the Omi mobile app to manage the connection, communication, and data processing for the new device.
This guide focuses on devices that stream audio data, but the principles apply to other data types as well.
***
## Prerequisites
Before you begin, ensure you have the following:
The third-party device you want to integrate
Highly recommended for superior BLE traffic capturing capabilities
Essential tool for analyzing captured network traffic
A local development setup of the Omi app
### Technical Knowledge Required
| Skill | Level | Description |
| ------------ | ------------ | -------------------------------- |
| BLE Concepts | Basic | Services, Characteristics, UUIDs |
| Dart/Flutter | Intermediate | For app integration |
| Python | Optional | For writing verification scripts |
***
## Part 1: Reverse Engineering the Device Protocol
Your first goal is to become a detective. You need to learn the device's language, which for most wearables is spoken over Bluetooth Low Energy (BLE).
### Step 1.1: Capture BLE Traffic
The most effective way to learn the protocol is to capture the communication between the device and its official app.
Go to **Settings → About phone** and tap **Build number** seven times.
Go to **Settings → System → Developer options**. Enable:
* USB debugging
* Enable Bluetooth HCI snoop log
Turn Bluetooth off and on again for the change to take effect.
Use the official vendor app to connect to your device. Perform key operations like starting and stopping a recording, changing settings, etc.
Record a video of your phone's screen while you perform actions. This will be invaluable when matching timestamps in Wireshark to see which action generated which BLE command.
After capturing, disable the snoop log.
**Non-Rooted Devices:** Generate a bug report from Developer options. The log file `btsnoop_hci.log` will be in the ZIP archive under `FS/data/misc/bluetooth/logs/`.
**Rooted Devices:** Pull directly using ADB:
```bash theme={null}
adb pull /data/misc/bluetooth/logs/btsnoop_hci.log
```
Open the `btsnoop_hci.log` file in [Wireshark](https://www.wireshark.org/).
To find your device's address: `adb shell dumpsys bluetooth_manager`
There are two approaches for iOS: manual exploration or full packet capture.
Apps like [nRF Connect](https://www.nordicsemi.com/Products/Development-tools/nrf-connect-for-mobile) or [LightBlue](https://apps.apple.com/us/app/lightblue-explorer/id557428110) allow you to manually explore your device's services and characteristics. This requires more trial and error but can quickly reveal basic information about UUIDs and simple data formats.
**Requirements:**
* iOS 13+ device and Lightning/USB-C cable
* Mac computer with macOS
* [Apple Developer Program account](https://developer.apple.com/programs/) (free tier works)
On your iOS device, open Safari and navigate to:
```
https://developer.apple.com/bug-reporting/profiles-and-logs/?name=bluetooth
```
Sign in, download the profile, and install it via **Settings → Profile Downloaded**.
1. Install [Xcode](https://developer.apple.com/xcode/) from the Mac App Store
2. Download **Additional Tools for Xcode** from [Apple's downloads page](https://developer.apple.com/download/all/?q=Additional%20Tools)
3. Find **PacketLogger.app** in the Hardware folder and copy to Applications
1. Connect your iOS device to your Mac via cable
2. Open PacketLogger and go to **File → New iOS Trace**
3. A pulse icon appears on your iOS device indicating active trace
4. Use the vendor's app to interact with your device
5. Stop and save the capture when finished
PacketLogger provides excellent built-in analysis, or export to Wireshark via **File → Export** (`.pcap` or `.pklg` format).
**PacketLogger Features:**
* Decodes all Bluetooth SIG-defined protocols
* Rich filtering options and text/regex search
* Ability to comment and flag packets
* Export for Wireshark analysis
### Step 1.2: Analyze Traffic in Wireshark
With your log file open, it's time to find the important packets.
Find your device's address and apply a display filter to isolate its traffic
For audio streaming, look for large numbers of similar-sized packets sent rapidly
Look for GATT Service UUID, Characteristic UUID, and raw data payload
Create a "map" of Service UUIDs, Characteristic UUIDs, and Data Formats
**Key Information to Find:**
* **Service UUIDs:** High-level containers (e.g., "Audio Service", "Device Information Service")
* **Characteristic UUIDs:** Specific data endpoints (e.g., "Audio Stream Data", "Battery Level")
* **Data Format:** Encoding of the payload (e.g., Opus, PCM, µ-law, AAC)
### Step 1.3: Decode the Data Payload
The data payload is a hexadecimal string. Your task is to figure out its structure.
Let's say you capture several 240-byte data packets. You notice the first byte is always `b8`, and this byte reappears every 40 bytes within the same packet.
This is a strong clue! The Opus audio codec uses a Table of Contents (TOC) byte at the start of each frame. The repeating `b8` byte suggests the packet contains six 40-byte Opus frames.
| Codec | Description |
| --------- | --------------------------------------------------------- |
| **Opus** | High-quality, low-latency (most common in modern devices) |
| **PCM** | Uncompressed audio (16-bit typical) |
| **µ-law** | Compressed 8-bit audio (telephony standard) |
| **AAC** | Advanced Audio Coding (Apple devices) |
### Step 1.4: Verify Your Findings
Before integrating, write a small standalone script to confirm your assumptions.
```python theme={null}
# Example verification using Python and Bleak
import asyncio
from bleak import BleakClient
DEVICE_MAC = "XX:XX:XX:XX:XX:XX"
AUDIO_CHAR_UUID = "your-characteristic-uuid"
async def main():
async with BleakClient(DEVICE_MAC) as client:
def callback(sender, data):
# Decode and verify audio data
print(f"Received {len(data)} bytes")
await client.start_notify(AUDIO_CHAR_UUID, callback)
await asyncio.sleep(10) # Record for 10 seconds
asyncio.run(main())
```
If you can decode and play back the audio as a `.wav` file, you've cracked the code!
***
## Part 2: Integrating with the Omi App
Now, let's integrate your device into the Omi app's modular architecture.
### Understanding Omi's Device Architecture
| Component | Location | Purpose |
| ------------------------- | ----------------------------------- | -------------------------------------------------------------- |
| `DeviceConnection` | `.../device_connection.dart` | Abstract class defining the standard interface for all devices |
| `DeviceTransport` | `.../transports/ble_transport.dart` | Low-level BLE communication handler |
| `DeviceConnectionFactory` | `.../device_connection.dart` | Constructs the correct connection object based on DeviceType |
### Implementation Steps
Open `app/lib/backend/schema/bt_device/bt_device.dart` and add your device:
```dart theme={null}
enum DeviceType {
omi,
openglass,
frame,
appleWatch,
plaud,
xyz, // Add your new device type here
}
```
Also update `getTypeOfBluetoothDevice` function and create a helper (e.g., `isXyzDevice`) to identify your device during Bluetooth scans.
Create `app/lib/services/devices/xyz_connection.dart`:
```dart theme={null}
import 'dart:async';
import 'package:omi/backend/schema/bt_device/bt_device.dart';
import 'package:omi/services/devices/device_connection.dart';
import 'package:omi/services/devices/models.dart';
// Define your device's specific UUIDs
const String xyzAudioServiceUuid = '0000...';
const String xyzAudioStreamUuid = '0000...';
const String xyzButtonUuid = '0000...';
class XyzConnection extends DeviceConnection {
XyzConnection(super.device, super.transport);
@override
Future performGetAudioCodec() async {
// Return the audio codec your device uses
return BleAudioCodec.opus;
}
@override
Future performGetBleAudioBytesListener({
required void Function(List p1) onAudioBytesReceived,
}) async {
// Subscribe to your device's audio characteristic
final stream = transport.getCharacteristicStream(
xyzAudioServiceUuid,
xyzAudioStreamUuid
);
return stream.listen(onAudioBytesReceived);
}
@override
Future performRetrieveBatteryLevel() async {
// Most devices use standard BLE Battery Service
return super.performRetrieveBatteryLevel();
}
}
```
Open `app/lib/services/devices/device_connection.dart` and add a new case:
```dart theme={null}
class DeviceConnectionFactory {
static DeviceConnection? create(BtDevice device) {
switch (device.type) {
// ... other cases
case DeviceType.appleWatch:
return AppleWatchDeviceConnection(device, transport);
// Add your new case
case DeviceType.xyz:
return XyzConnection(device, transport);
}
}
}
```
Refer to `app/lib/services/devices/omi_connection.dart` for a complete example of a complex device implementation.
***
## Part 3: Testing and Contribution
### Testing Your Integration
Test your integration thoroughly within the Omi app:
| Test | Description |
| ---------------------- | ----------------------------------------------------------------- |
| Discovery & Connection | Can you successfully discover and connect to the device? |
| Live Transcription | Does real-time transcription work as expected? |
| Battery Level | Is the battery level displayed correctly? |
| Stability | Is the connection stable? Does it handle reconnection gracefully? |
### Troubleshooting Common Issues
* Double-check your Service and Characteristic UUIDs
* Ensure the device is not connected to its official app or another phone
* Verify BLE permissions are granted in the app
* Your `BleAudioCodec` in `performGetAudioCodec` is likely incorrect
* Verify the codec and its parameters (sample rate, bit depth)
* Check if there's a header to strip from audio packets
* Confirm you are subscribing to the correct characteristic for notifications
* Check in Wireshark if the device is actually sending data after connection
* Verify the characteristic supports notifications (check properties)
### Contributing Your Work
Omi is built by the community. If you've integrated a new device, we strongly encourage you to contribute it back!
Review our [Contribution Guide](/doc/developer/Contribution) for code standards and PR process.
Submit your integration to the [Omi GitHub repository](https://github.com/BasedHardware/omi).
Discuss your integration with the team and community on [Discord](http://discord.omi.me).
We offer [paid bounties](https://omi.me/bounties) for specific features and integrations. Check them out!
***
## Related Documentation
BLE protocol specification for Omi devices
Set up the Omi Flutter app for development
Build apps using Omi SDKs
How to contribute to Omi
Omi is the world's most advanced open-source AI wearable platform. Our mission is to build an open ecosystem for seamless communication, and that includes enabling a wide range of hardware.
This guide will walk you through integrating third-party wearable devices—like Plaud AI, Limitless, or your own custom hardware—into the Omi app. By doing so, you can leverage Omi's powerful features, including high-quality transcription, conversation memory, and a growing app marketplace, for any device.
***
## The Integration Workflow
Integrating a new device involves two main phases:
Understanding how the device communicates. This typically means capturing and analyzing its Bluetooth Low Energy (BLE) traffic to decode its protocol for commands and data streaming.
Writing code within the Omi mobile app to manage the connection, communication, and data processing for the new device.
This guide focuses on devices that stream audio data, but the principles apply to other data types as well.
***
## Prerequisites
Before you begin, ensure you have the following:
The third-party device you want to integrate
Highly recommended for superior BLE traffic capturing capabilities
Essential tool for analyzing captured network traffic
A local development setup of the Omi app
### Technical Knowledge Required
| Skill | Level | Description |
| ------------ | ------------ | -------------------------------- |
| BLE Concepts | Basic | Services, Characteristics, UUIDs |
| Dart/Flutter | Intermediate | For app integration |
| Python | Optional | For writing verification scripts |
***
## Part 1: Reverse Engineering the Device Protocol
Your first goal is to become a detective. You need to learn the device's language, which for most wearables is spoken over Bluetooth Low Energy (BLE).
### Step 1.1: Capture BLE Traffic
The most effective way to learn the protocol is to capture the communication between the device and its official app.
Go to **Settings → About phone** and tap **Build number** seven times.
Go to **Settings → System → Developer options**. Enable:
* USB debugging
* Enable Bluetooth HCI snoop log
Turn Bluetooth off and on again for the change to take effect.
Use the official vendor app to connect to your device. Perform key operations like starting and stopping a recording, changing settings, etc.
Record a video of your phone's screen while you perform actions. This will be invaluable when matching timestamps in Wireshark to see which action generated which BLE command.
After capturing, disable the snoop log.
**Non-Rooted Devices:** Generate a bug report from Developer options. The log file `btsnoop_hci.log` will be in the ZIP archive under `FS/data/misc/bluetooth/logs/`.
**Rooted Devices:** Pull directly using ADB:
```bash theme={null}
adb pull /data/misc/bluetooth/logs/btsnoop_hci.log
```
Open the `btsnoop_hci.log` file in [Wireshark](https://www.wireshark.org/).
To find your device's address: `adb shell dumpsys bluetooth_manager`
There are two approaches for iOS: manual exploration or full packet capture.
Apps like [nRF Connect](https://www.nordicsemi.com/Products/Development-tools/nrf-connect-for-mobile) or [LightBlue](https://apps.apple.com/us/app/lightblue-explorer/id557428110) allow you to manually explore your device's services and characteristics. This requires more trial and error but can quickly reveal basic information about UUIDs and simple data formats.
**Requirements:**
* iOS 13+ device and Lightning/USB-C cable
* Mac computer with macOS
* [Apple Developer Program account](https://developer.apple.com/programs/) (free tier works)
On your iOS device, open Safari and navigate to:
```
https://developer.apple.com/bug-reporting/profiles-and-logs/?name=bluetooth
```
Sign in, download the profile, and install it via **Settings → Profile Downloaded**.
1. Install [Xcode](https://developer.apple.com/xcode/) from the Mac App Store
2. Download **Additional Tools for Xcode** from [Apple's downloads page](https://developer.apple.com/download/all/?q=Additional%20Tools)
3. Find **PacketLogger.app** in the Hardware folder and copy to Applications
1. Connect your iOS device to your Mac via cable
2. Open PacketLogger and go to **File → New iOS Trace**
3. A pulse icon appears on your iOS device indicating active trace
4. Use the vendor's app to interact with your device
5. Stop and save the capture when finished
PacketLogger provides excellent built-in analysis, or export to Wireshark via **File → Export** (`.pcap` or `.pklg` format).
**PacketLogger Features:**
* Decodes all Bluetooth SIG-defined protocols
* Rich filtering options and text/regex search
* Ability to comment and flag packets
* Export for Wireshark analysis
### Step 1.2: Analyze Traffic in Wireshark
With your log file open, it's time to find the important packets.
Find your device's address and apply a display filter to isolate its traffic
For audio streaming, look for large numbers of similar-sized packets sent rapidly
Look for GATT Service UUID, Characteristic UUID, and raw data payload
Create a "map" of Service UUIDs, Characteristic UUIDs, and Data Formats
**Key Information to Find:**
* **Service UUIDs:** High-level containers (e.g., "Audio Service", "Device Information Service")
* **Characteristic UUIDs:** Specific data endpoints (e.g., "Audio Stream Data", "Battery Level")
* **Data Format:** Encoding of the payload (e.g., Opus, PCM, µ-law, AAC)
### Step 1.3: Decode the Data Payload
The data payload is a hexadecimal string. Your task is to figure out its structure.
Let's say you capture several 240-byte data packets. You notice the first byte is always `b8`, and this byte reappears every 40 bytes within the same packet.
This is a strong clue! The Opus audio codec uses a Table of Contents (TOC) byte at the start of each frame. The repeating `b8` byte suggests the packet contains six 40-byte Opus frames.
| Codec | Description |
| --------- | --------------------------------------------------------- |
| **Opus** | High-quality, low-latency (most common in modern devices) |
| **PCM** | Uncompressed audio (16-bit typical) |
| **µ-law** | Compressed 8-bit audio (telephony standard) |
| **AAC** | Advanced Audio Coding (Apple devices) |
### Step 1.4: Verify Your Findings
Before integrating, write a small standalone script to confirm your assumptions.
```python theme={null}
# Example verification using Python and Bleak
import asyncio
from bleak import BleakClient
DEVICE_MAC = "XX:XX:XX:XX:XX:XX"
AUDIO_CHAR_UUID = "your-characteristic-uuid"
async def main():
async with BleakClient(DEVICE_MAC) as client:
def callback(sender, data):
# Decode and verify audio data
print(f"Received {len(data)} bytes")
await client.start_notify(AUDIO_CHAR_UUID, callback)
await asyncio.sleep(10) # Record for 10 seconds
asyncio.run(main())
```
If you can decode and play back the audio as a `.wav` file, you've cracked the code!
***
## Part 2: Integrating with the Omi App
Now, let's integrate your device into the Omi app's modular architecture.
### Understanding Omi's Device Architecture
| Component | Location | Purpose |
| ------------------------- | ----------------------------------- | -------------------------------------------------------------- |
| `DeviceConnection` | `.../device_connection.dart` | Abstract class defining the standard interface for all devices |
| `DeviceTransport` | `.../transports/ble_transport.dart` | Low-level BLE communication handler |
| `DeviceConnectionFactory` | `.../device_connection.dart` | Constructs the correct connection object based on DeviceType |
### Implementation Steps
Open `app/lib/backend/schema/bt_device/bt_device.dart` and add your device:
```dart theme={null}
enum DeviceType {
omi,
openglass,
frame,
appleWatch,
plaud,
xyz, // Add your new device type here
}
```
Also update `getTypeOfBluetoothDevice` function and create a helper (e.g., `isXyzDevice`) to identify your device during Bluetooth scans.
Create `app/lib/services/devices/xyz_connection.dart`:
```dart theme={null}
import 'dart:async';
import 'package:omi/backend/schema/bt_device/bt_device.dart';
import 'package:omi/services/devices/device_connection.dart';
import 'package:omi/services/devices/models.dart';
// Define your device's specific UUIDs
const String xyzAudioServiceUuid = '0000...';
const String xyzAudioStreamUuid = '0000...';
const String xyzButtonUuid = '0000...';
class XyzConnection extends DeviceConnection {
XyzConnection(super.device, super.transport);
@override
Future performGetAudioCodec() async {
// Return the audio codec your device uses
return BleAudioCodec.opus;
}
@override
Future performGetBleAudioBytesListener({
required void Function(List p1) onAudioBytesReceived,
}) async {
// Subscribe to your device's audio characteristic
final stream = transport.getCharacteristicStream(
xyzAudioServiceUuid,
xyzAudioStreamUuid
);
return stream.listen(onAudioBytesReceived);
}
@override
Future performRetrieveBatteryLevel() async {
// Most devices use standard BLE Battery Service
return super.performRetrieveBatteryLevel();
}
}
```
Open `app/lib/services/devices/device_connection.dart` and add a new case:
```dart theme={null}
class DeviceConnectionFactory {
static DeviceConnection? create(BtDevice device) {
switch (device.type) {
// ... other cases
case DeviceType.appleWatch:
return AppleWatchDeviceConnection(device, transport);
// Add your new case
case DeviceType.xyz:
return XyzConnection(device, transport);
}
}
}
```
Refer to `app/lib/services/devices/omi_connection.dart` for a complete example of a complex device implementation.
***
## Part 3: Testing and Contribution
### Testing Your Integration
Test your integration thoroughly within the Omi app:
| Test | Description |
| ---------------------- | ----------------------------------------------------------------- |
| Discovery & Connection | Can you successfully discover and connect to the device? |
| Live Transcription | Does real-time transcription work as expected? |
| Battery Level | Is the battery level displayed correctly? |
| Stability | Is the connection stable? Does it handle reconnection gracefully? |
### Troubleshooting Common Issues
* Double-check your Service and Characteristic UUIDs
* Ensure the device is not connected to its official app or another phone
* Verify BLE permissions are granted in the app
* Your `BleAudioCodec` in `performGetAudioCodec` is likely incorrect
* Verify the codec and its parameters (sample rate, bit depth)
* Check if there's a header to strip from audio packets
* Confirm you are subscribing to the correct characteristic for notifications
* Check in Wireshark if the device is actually sending data after connection
* Verify the characteristic supports notifications (check properties)
### Contributing Your Work
Omi is built by the community. If you've integrated a new device, we strongly encourage you to contribute it back!
Review our [Contribution Guide](/doc/developer/Contribution) for code standards and PR process.
Submit your integration to the [Omi GitHub repository](https://github.com/BasedHardware/omi).
Discuss your integration with the team and community on [Discord](http://discord.omi.me).
We offer [paid bounties](https://omi.me/bounties) for specific features and integrations. Check them out!
***
## Related Documentation
BLE protocol specification for Omi devices
Set up the Omi Flutter app for development
Build apps using Omi SDKs
How to contribute to Omi