Prefer a Pre-Built Firmware?
Navigate to Flash Device to install a pre-built firmware version.Build Your Own Firmware
Step 1: Set Up nRF Connect
Follow the tutorial in this video: How to Set Up nRF ConnectStep 2: Choose Your Firmware Version
You have two options for building firmware:-
OMI Consumer Version
- Open the
firmware/omifolder - Use nRF Connect SDK and toolchain version
2.9.0
- Open the
-
OMI DevKit Version
- Open the
firmware/devkitfolder - Use nRF Connect SDK and toolchain version
2.7.0
- Open the
Step 3: Open the Firmware Application
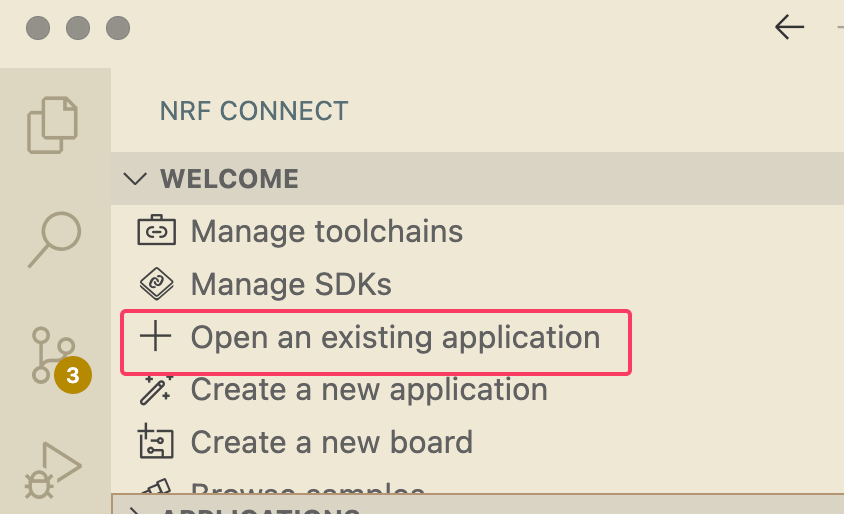
- Open nRF Connect Extension inside VS Code.
-
Click “Open an existing application” and navigate to either the
firmware/omiorfirmware/devkitfolder in the root of this repository, depending on which version you want to build.

Step 3: Add a Build Configuration
-
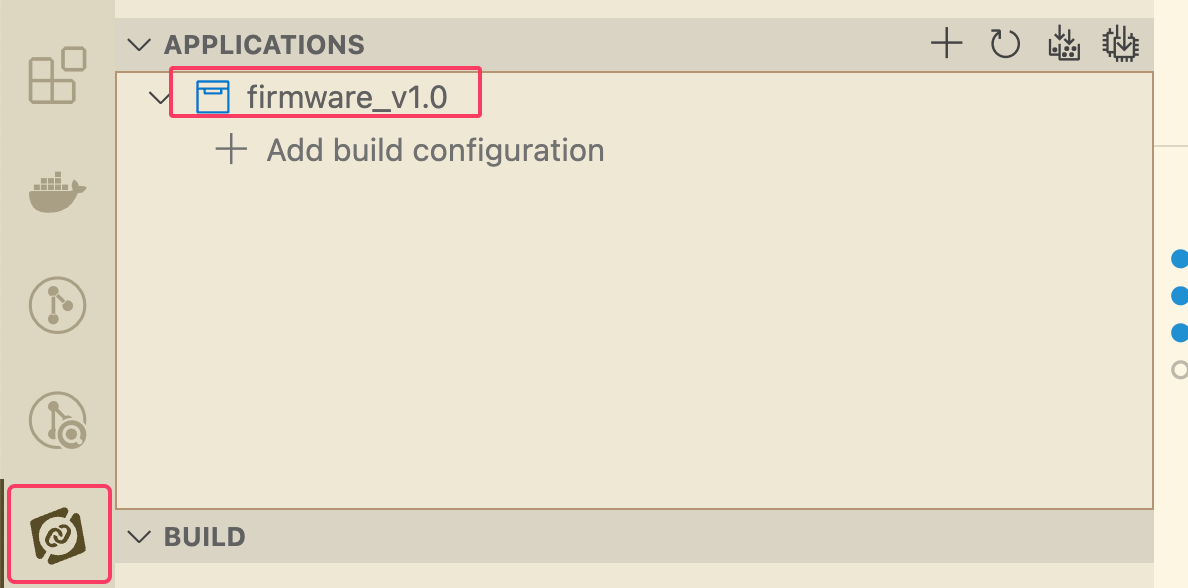
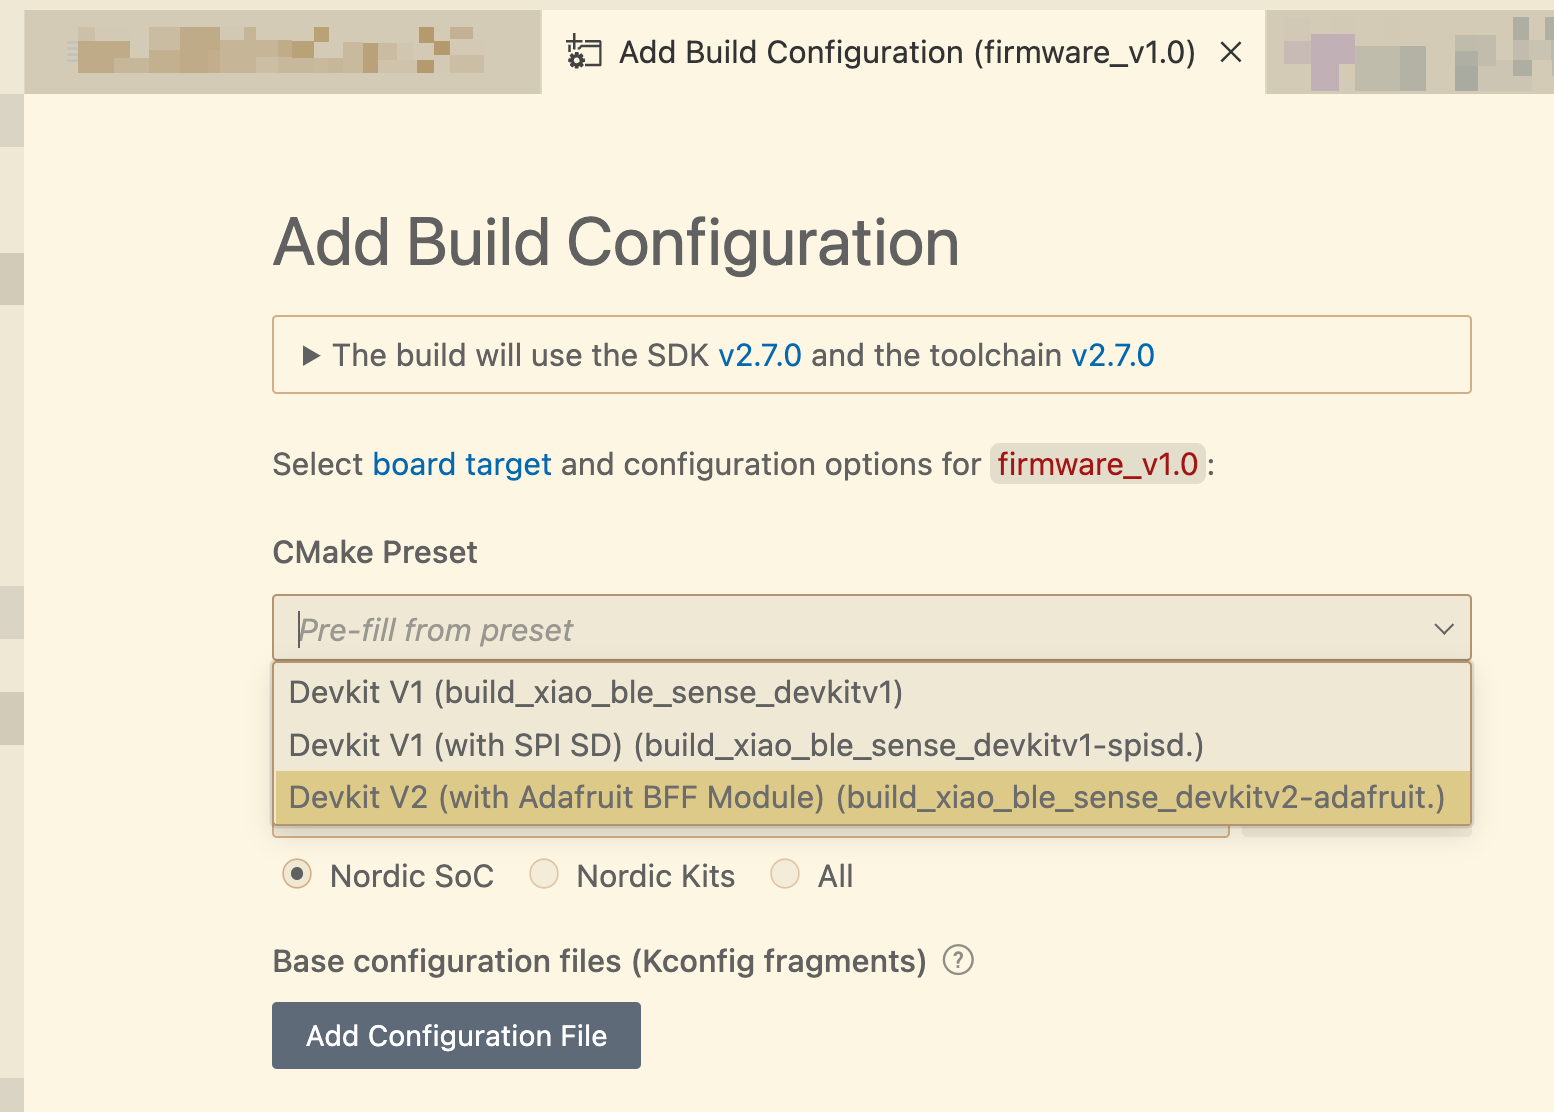
In the application panel of the extension, click the Add Build Configuration icon. Choose a
CMake Presetthat matches your hardware.
- Scroll to the bottom and click “Build Configuration.” This will start the nRFConnect SDK building your firmware file. A VSCode notification popup will notify you of the progress of your build.

Step 4: Locate the Compiled Firmware
Once the build succeeds, you will find thezephyr.uf2 file in the directory corresponding to the CMake preset you chose, for example firmware/build/build_xiao_ble_sense_devkitv2-adafruit/zephyr/.